Stripe Connector comes with an 8-day trial period. During this trial, users can explore all features and functionalities without any charges. After the trial period, you will need a subscription to use the application, which can be activated as follows.
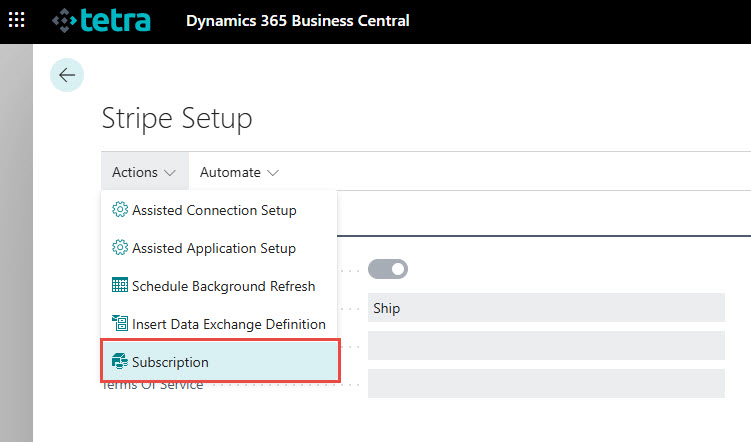
In Business Central, choose the Search icon 🔎 in the top-right corner, enter Stripe Setup, and then choose the related link.
Use the Subscription function from the Actions menu.
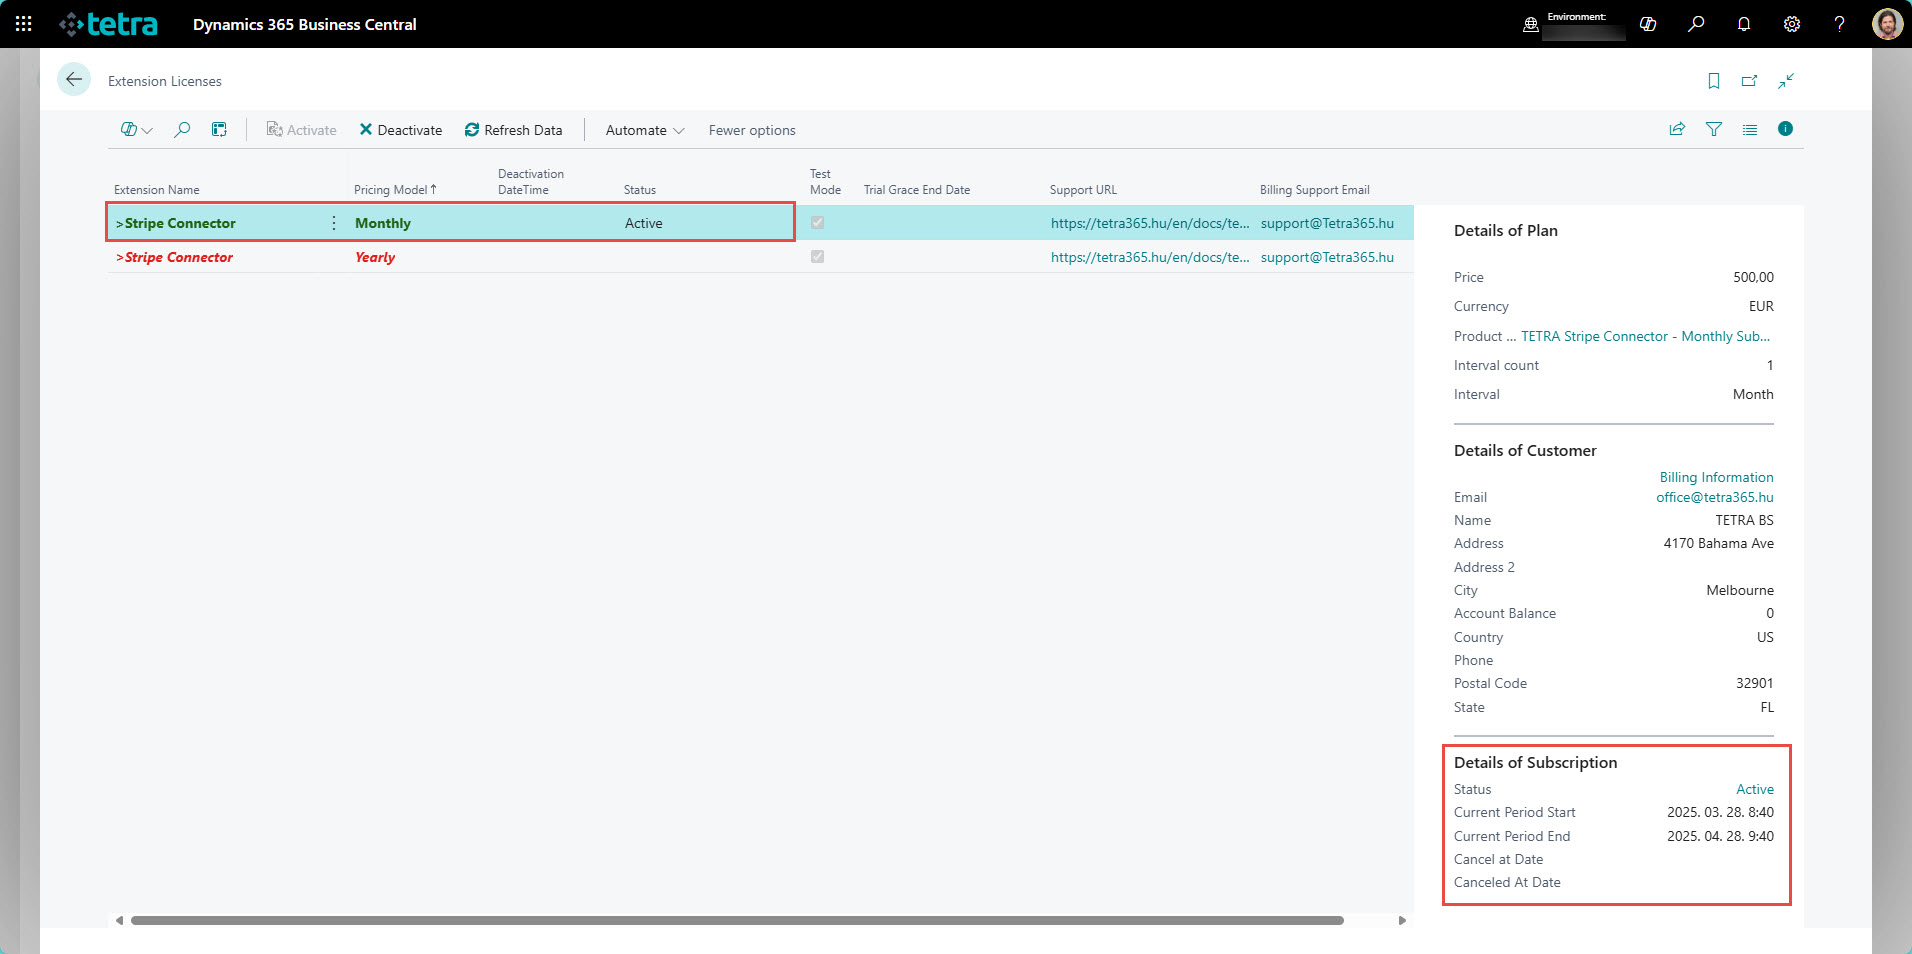
The Extension Licenses page appears and you can select the appropriate plan for using the solution.

- Select the plan
- Click on the Show Information icon
- Check the details of the Plan
- Use the Activate action to subscribe
The Licensing Activation Wizard opens and you can set the proper Payment Method and check the Billing Information by clicking on the Set Billing Information.

Billing information appears on a new tab in your browser

After you set and updated all details you can close that tab and go back to Business Central to continue the activation process by clicking on Next.

This is the final step where you can change Billing details (at this stage you have the option to step back and change payment information). If all looks good then click on Next for activation.

Click on Finish to close the Activation Wizard. The subscription became Active and you can see the details in the FactBox.
Iratkozzon fel hírlevelünkre
Büszkék vagyunk, hogy velük dolgozhatunk


 2089 Telki, Öreghegyi út 31/A
 +36 30 502 0648